We’ve gathered some of our amazing knitting tips that’ll make any creative project easier!
If you love to knit, you probably also love some of those tiny solutions that make some of the processes a lot easier.
We’ve gathered 12 little tips that you can’t live without here 👇🏻
1. Cast on loosely
Many people sadly believe that the stitches will be looser if you cast on with two needles instead of one.
But it’s actually a myth! It’ll actually just make your stitches longer and sloppier to look at. When the pattern dictates that you cast on loosely, you can use a finger instead.
Place a finger between the previous and the new stitch you’re casting on as shown in the photo below. Cast on, tighten the stitch, and move your finger to repeat the technique for the rest of the cast-ons:
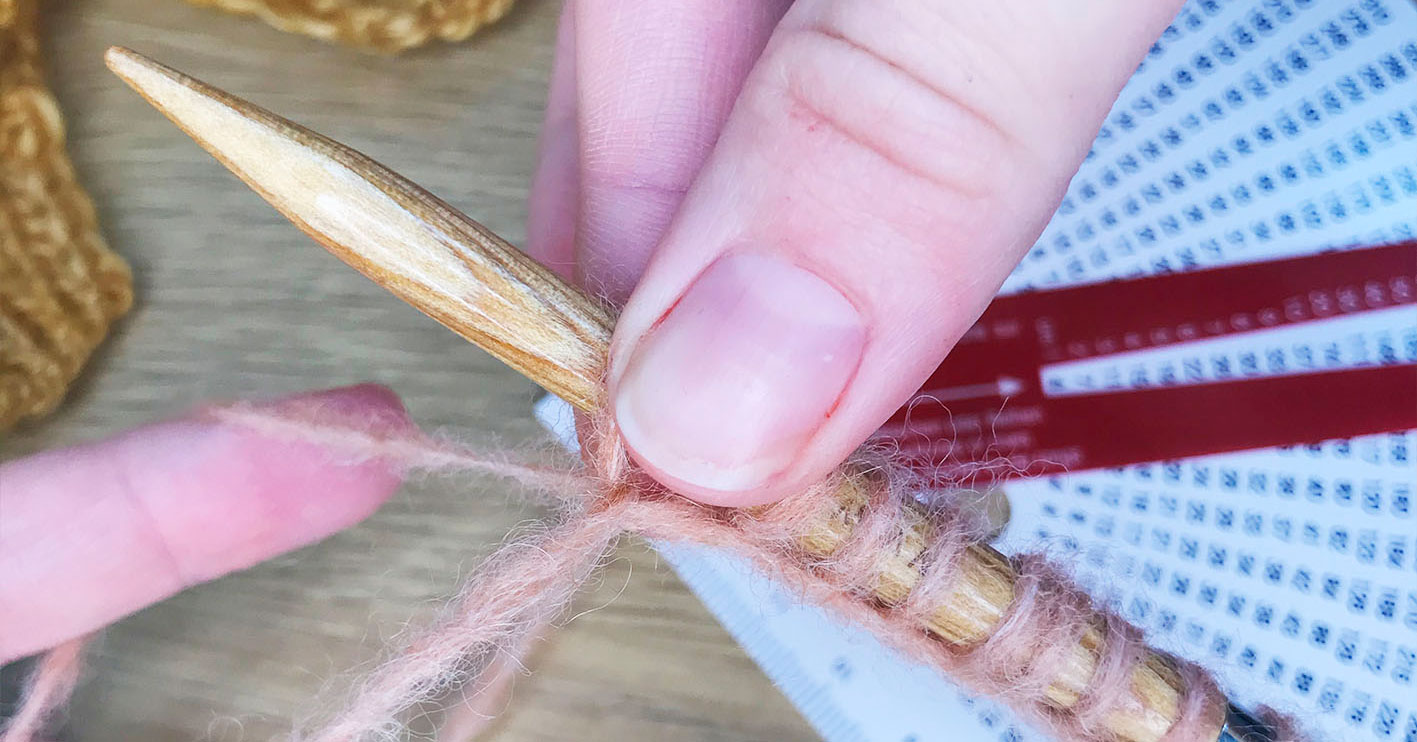
This way you get nice-looking stitches along the edge that are still loose.
2. Use stitch markers to count when casting on
It can be hard to keep track of how many stitches you’ve cast on if you’re starting a big project!
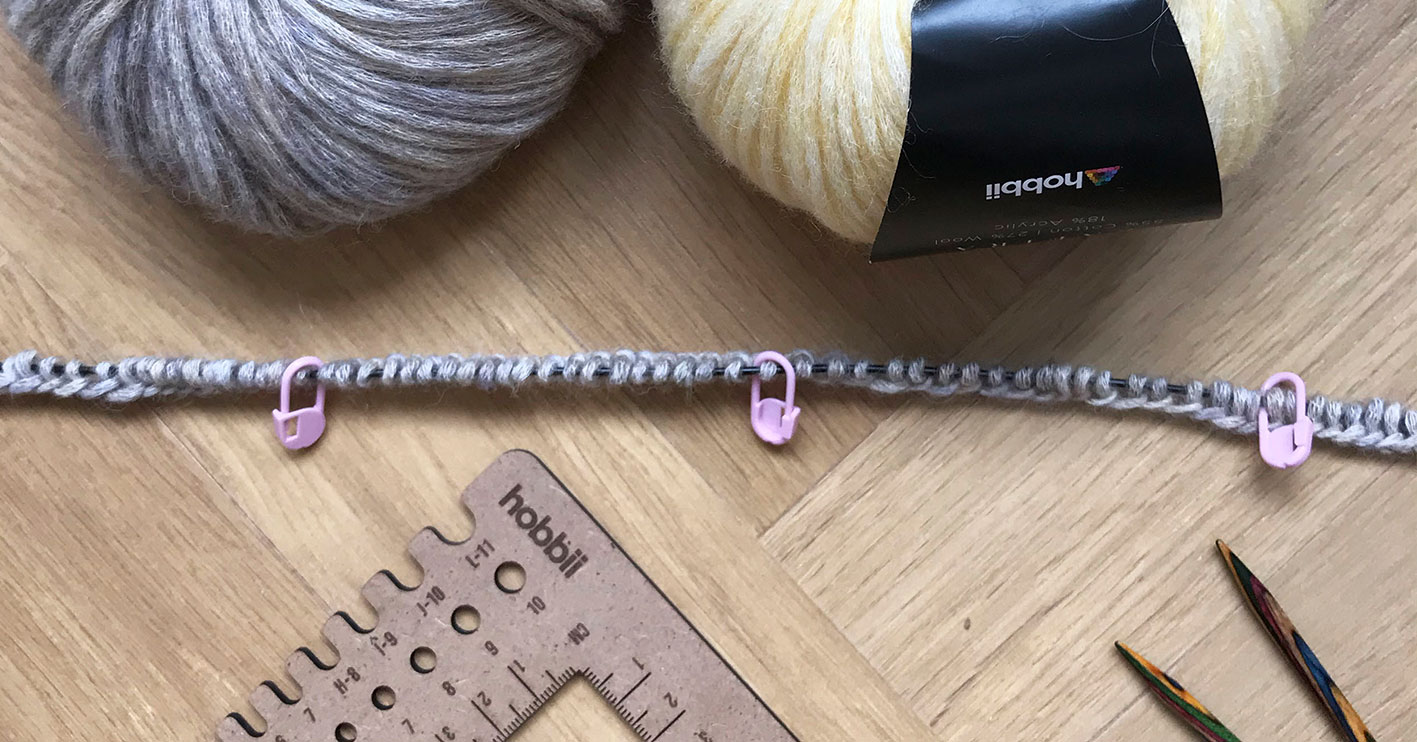
That’s why it can be a good idea to use stitch markers to count. This way you won’t lose track when you’re casting on lots of stitches.
Attach a marker every time you’ve cast on 20 stitches. This way you can easily count your markers and multiply them by 20 to find out whether you have the number of stitches you need 🧶📏
3. Measure the right amount of yarn for an Italian bind off
It sucks to end up with a yarn end that’s way too short when you’re starting an Italian bind off. On the other hand, it takes much longer than it needs to if the end is way too long.
But how much yarn do you actually need?
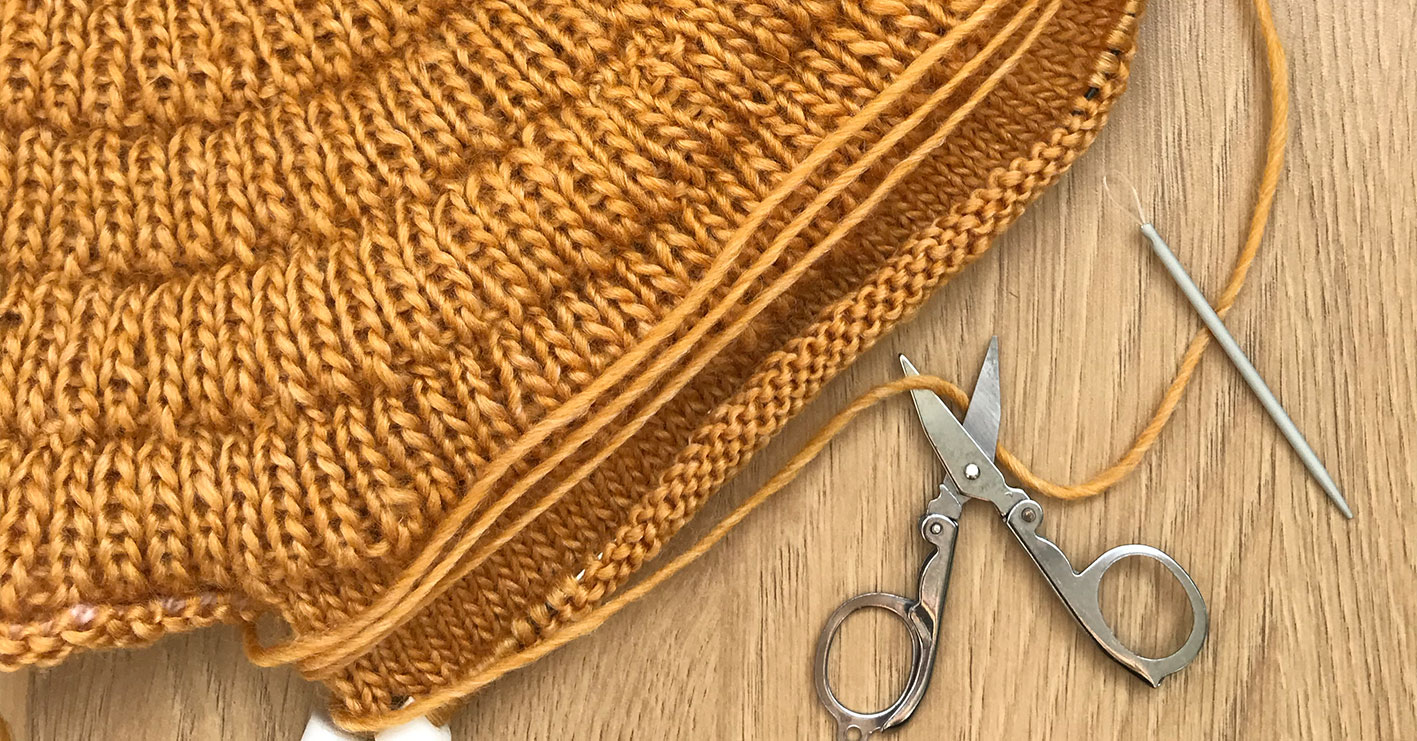
A rule of thumb is to wrap the yarn loosely around the part that needs binding off 3 to 3.5 times. Are you, e.g., binding off a sleeve, then wrap the yarn end around the sleeve and cut ✂️
If you’re binding off something that isn’t round, you simply run the yarn end back and forth over your work 3 to 3.5 times.
You can use a wool needle for the Italian bind off to great effect. The eye of this needle is large enough that your yarn end will fit through easily.
4. Use a bead to gather the strands of untwisted yarn
If you’ve worked with untwisted yarn before (e.g., Twister) then you probably know that the thin strands can separate slightly while you knit.
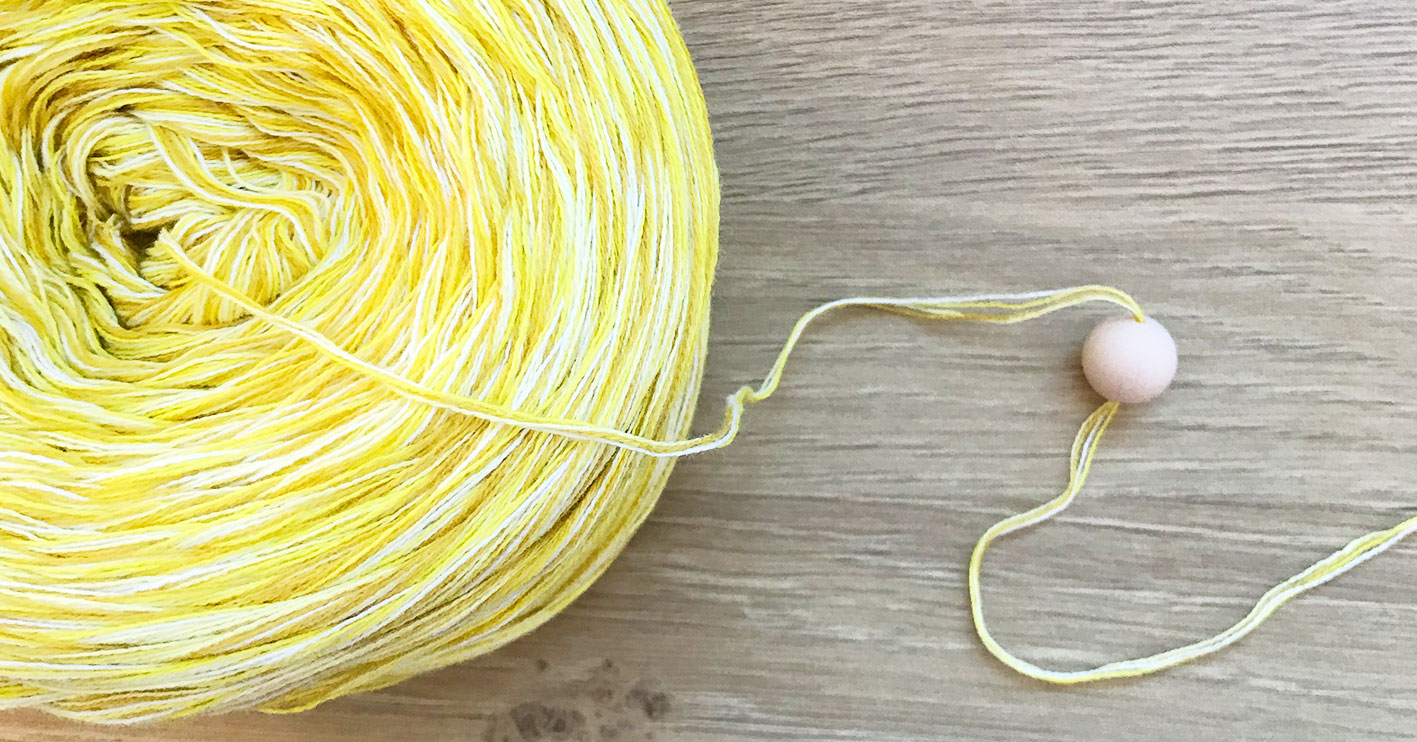
If you’d like to avoid this, then you can thread the yarn through a bead before you start working with it. This way you make sure that the strands will stay together throughout your work 🥳
You can use silicone beads from Go Handmade like the one we’ve used in the photo below.
5. Use manila tags to keep track of your projects
You’ve probably been there! When you’re working on multiple projects at the same time, you can easily forget which needle size you’re using 🧶
If you attach a manila tags to your projects or your swatch, you can easily return to your work 🏷
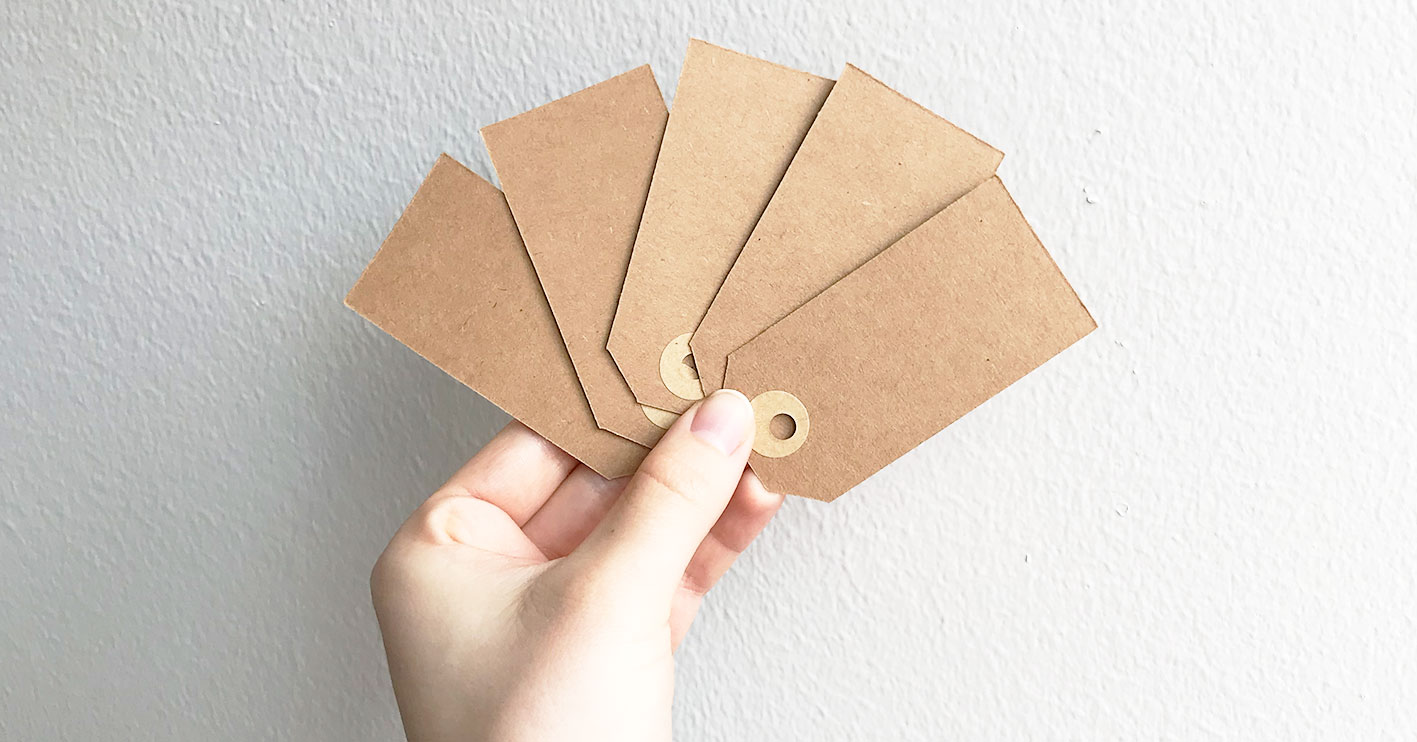
You can use the tags to note down things like:
- Needle size
- Name of the pattern
- Knitting tension
- Yarn choice
- Color codes and LOT-numbers for the yarn
- Amount of yarn used
That way you won’t be unsure what you’re doing. In addition, the manila tags can help you remember the yarn you used, if you, e.g., would like to knit the same project again in another color at a later date.
TIP: Attach a manila tag to your swatch and save it
ALSO READ: Why you should never skip the gauge swatch before starting a new knitting project.
6. Freshen up your knitting with an elastic thread
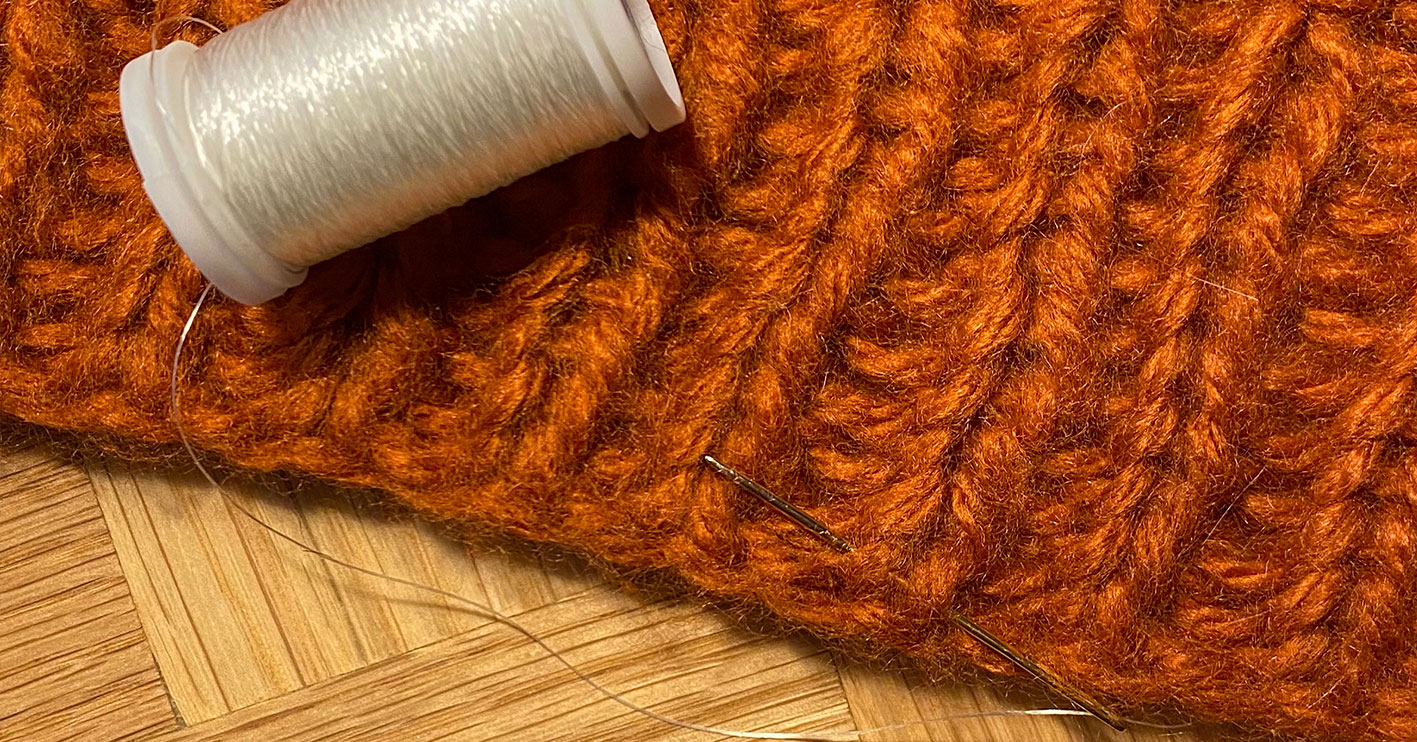
If the rib edge in your project has come out looser than expected, you can use some elastic thread to tighten it back up.
You simply sew the elastic into the wrong side of, e.g., the edge of the neck, the bottom rib edge, or along the sleeve. You can also sew the elastic into an old sweater that’s loosened over time. That way your sweater will get a nicer fit again.
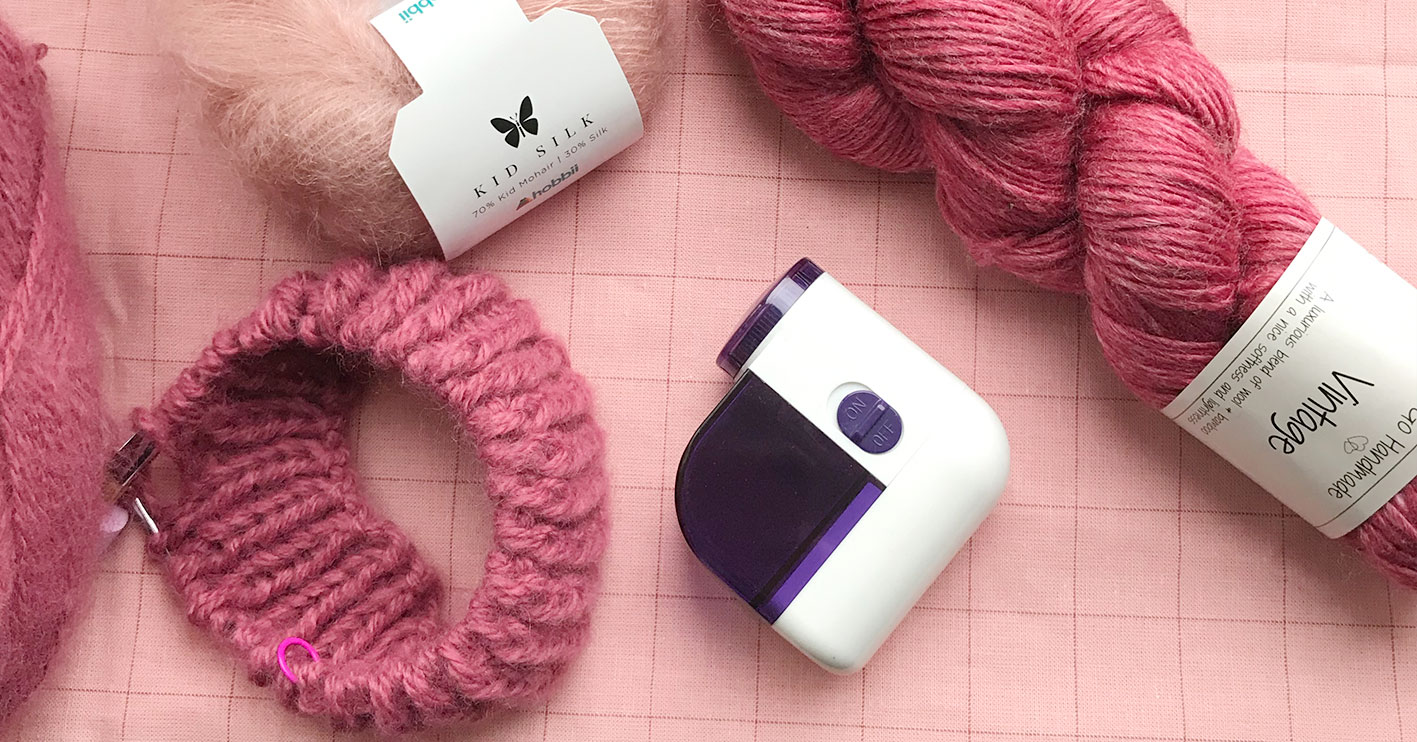
7. Freshen up your knitting with an electric wool shaver
There’s nothing worse than when your beloved knitwear starts to pill and look drab.
But there’s a solution!
It’s super easy to remove pills from your sweater or other knitwear with an electric wool shaver. You simply turn it on and use it on the areas that need to be freshened up. The wool shaver has a clever little receptacle that detaches easily to let you empty the woolen pills into the trash.

TIP: You can also use the wool shaver on other types of textiles like a fabric or wool couch
8. Use point protectors when you put down your work
Have you had stitches fall off your needles when you’re on the go with your knitting or you move it from A to B too?
Luckily, there’s a solution to this! A great tip is to use point protectors on the tips of your needles. Then the stitches will stay right where they need to be, and you don’t have to be anxious about ruining your hard work.
If you've earned enough points in our point store, you can get some of these pretty foam point protectors that come in different sizes.
9. Protect your knitting from moths with cedarwood balls
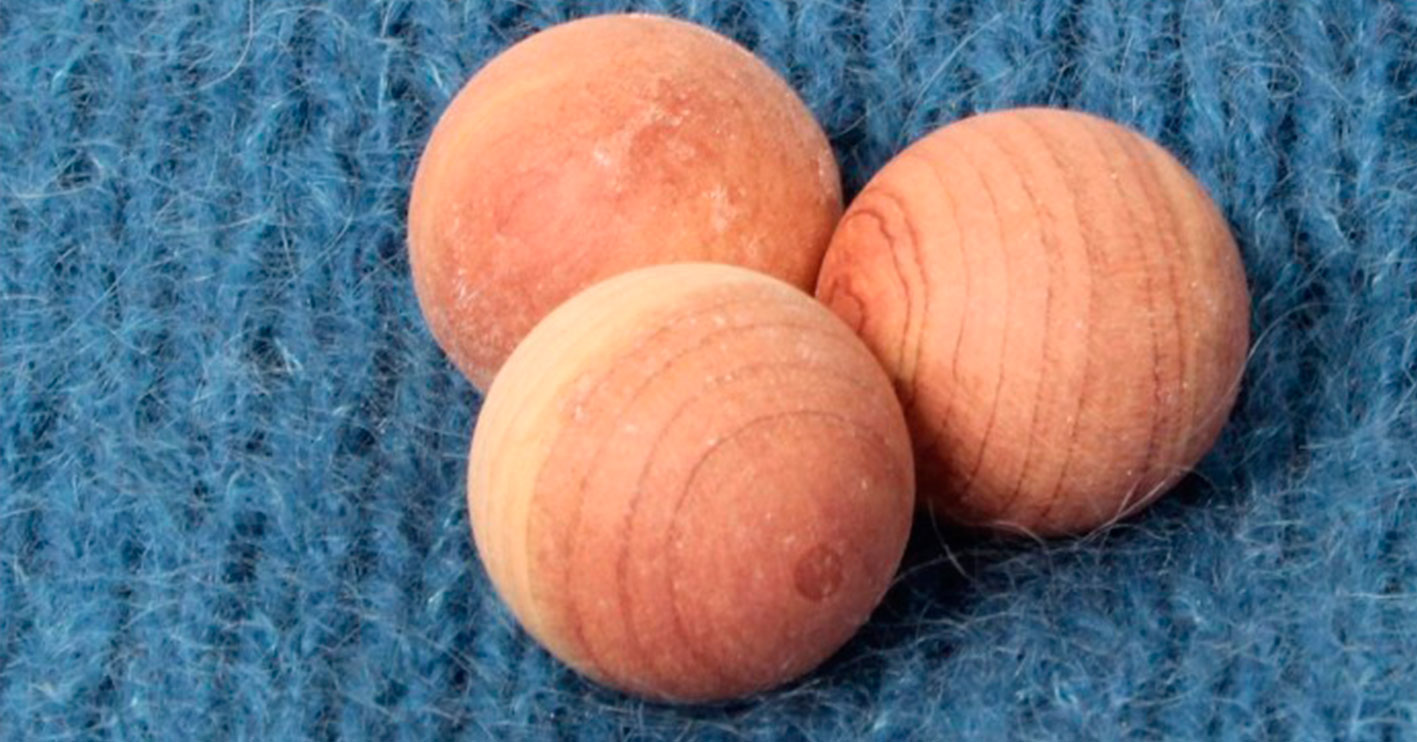
Moths can easily get into your beloved homemade knitwear. To avoid it, you can put these cedarwood balls next to your knitting.
Cedarwood balls are a 100% pure natural product, and the moths don’t like the natural wooden smell.
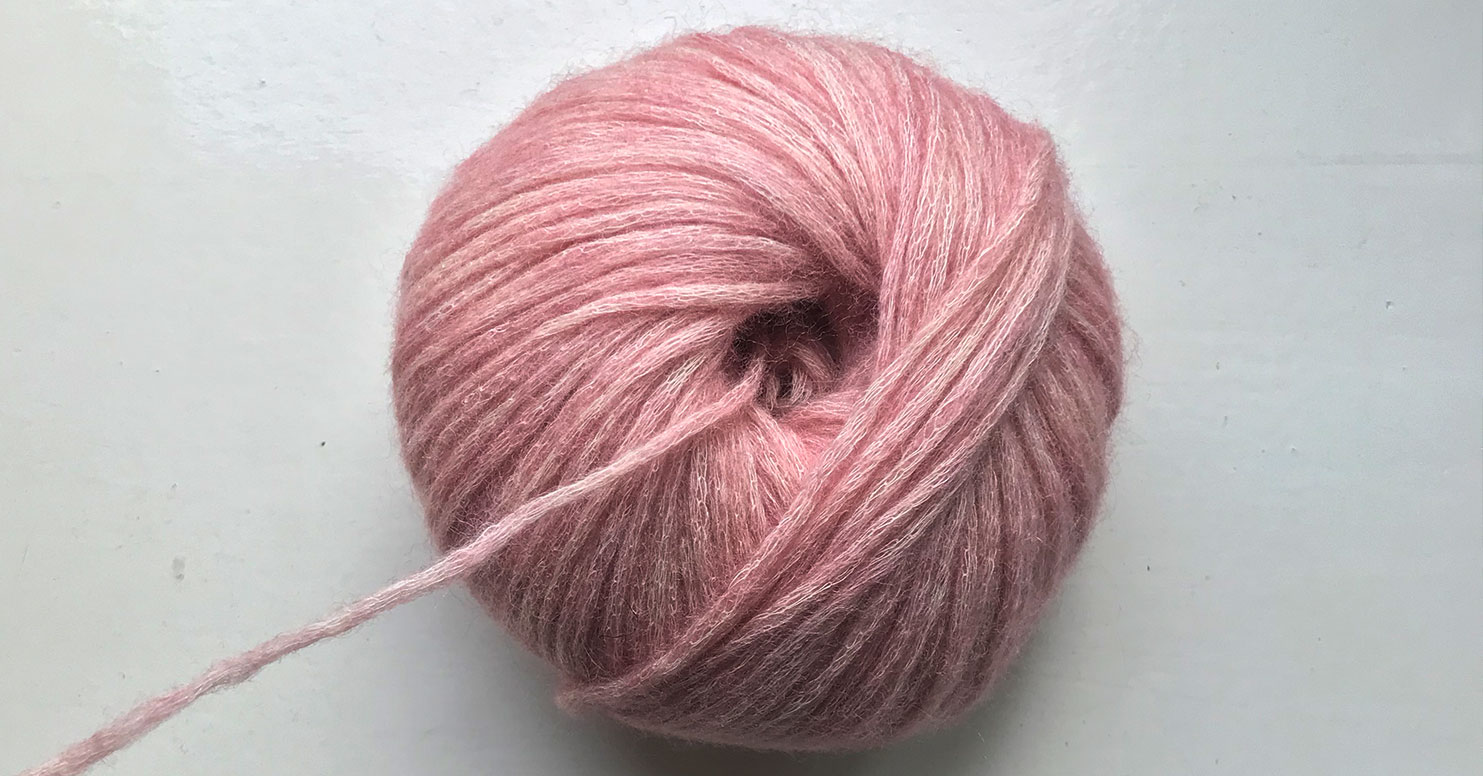
10. Start your skein from the middle
Instead of taking off the label and starting the skein from the outside, you should start the yarn from the middle.
That way you have more control of your yarn because you’ll avoid that the skein will start rolling around or falling on the floor while you work with it.
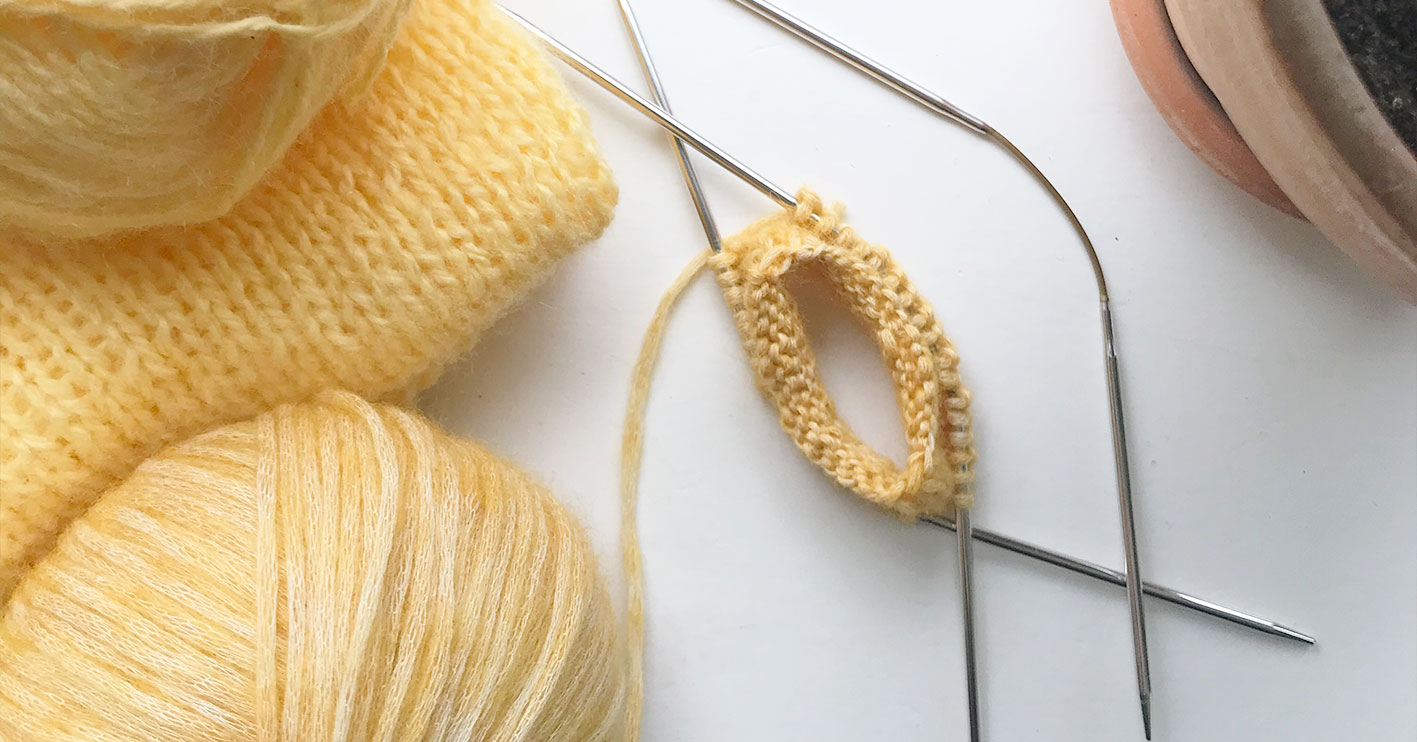
11. Knit even the smallest diameter with just three sock needles
If you’re knitting socks, sleeves, or something else round with a small diameter, then you can use 3 needles instead of 5 with these special “Crasy Trio” sock needles from Addi.
The needles are made from metal but have a short, bendable wire in the middle that makes them flexible enough to get away with only having your stitches on two needles, while you knit with the third one.
12. Knit double when you’re changing yarn
When you need to start a new skein in your project, it can be a good idea to knit double for a couple of stitches. That way you get a nicer looking and smoother transition that’ll hold.
To do this, put the new yarn next to the old one and knit approx. 4-6 stitches with both strands. From there you can just keep knitting with the new yarn, and you’ll even weave in the end as you work.
However, you need to be aware that the result depends on the yarn type and the project you’re working on.
Do you have some brilliant tips that’ll make knitting much easier? Then we’d love to see them in the comments below 👇🏻


Leave a comment