Are you ready to make the sides of your basket? I will give you a step-by-step guide and help you make a beautiful bread basket that I am sure you are going to use every chance you get. Remember, each step will have thorough explanations, photos, and videos guiding you through the pattern.

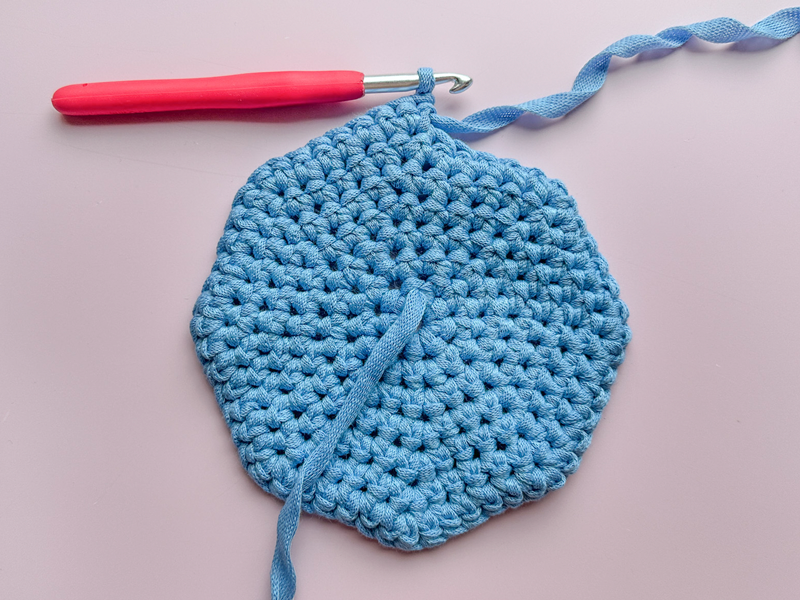
Well done! You crocheted the bottom, and now you are ready to crochet the sides of the bread basket! You should be proud. I hope it hasn’t been too much for your poor hands. Please, remember to stretch to make the most of your crochet moments.
Let’s get on with the pattern. The sides of the bread baskets may look a little complicated, but I promise you, it is easier than you think. And I will be right there with you every step of the way.
For this second part, you will be using the following techniques
- Slip stitch (abbreviated sl st)
- Single crochet (abbreviated sc)
- Long single crochet, aka spike stitch (abbreviated lsc)
- Back loop only (abbreviated BLO)
TIP: Once you start crocheting “up”, that is - without increases, your work will begin to bend, as it should. However, it is important to keep an eye on which side turns out. Oftentimes, the wrong side of your work will turn out on its own, and you need to remember to actively turn the right side out.
Do you find it hard to distinguish between the right and the wrong side? Take a look at the photos below.

This is what the right side looks like 👆
This is what the wrong side looks like 👆
Round 8
For this entire round, you are going to work in the back loops only without making any increases.
- Crochet 1 single crochet in the back loops only of each stitch for the entire round.
How to crochet in the back loops only:
Video tip! Click on “Settings” (the small gear under the video ⚙) to change the language of the subtexts. You can also adjust the speed of the video if you need to rewatch the technique at a slower pace.
You can read more about crocheting in the back loop here.Round 9
- Crochet 1 single crochet in each stitch.
Round 10
- Crochet 1 long single crochet in the next stitch. Learn how to do a long single crochet in the video below.
- Crochet 1 single crochet in the next stitch.
Repeat these two steps on the entire round. Finish the round with 1 long single crochet.
How to do a long single crochet:
You can read more about the long single crochet here.
Round 11
- Crochet 1 single crochet in the next stitch.
- Crochet 1 long single crochet in the next stitch.
Repeat these two steps on the entire round. Finish the round with 1 single crochet.
You have now finished the two rounds you need to make the sides - that wasn’t so hard was it? Now you just repeat rounds 10 and 11 until you have a total of 8 rounds with long single crochets, and then you are almost done with your lovely bread basket.
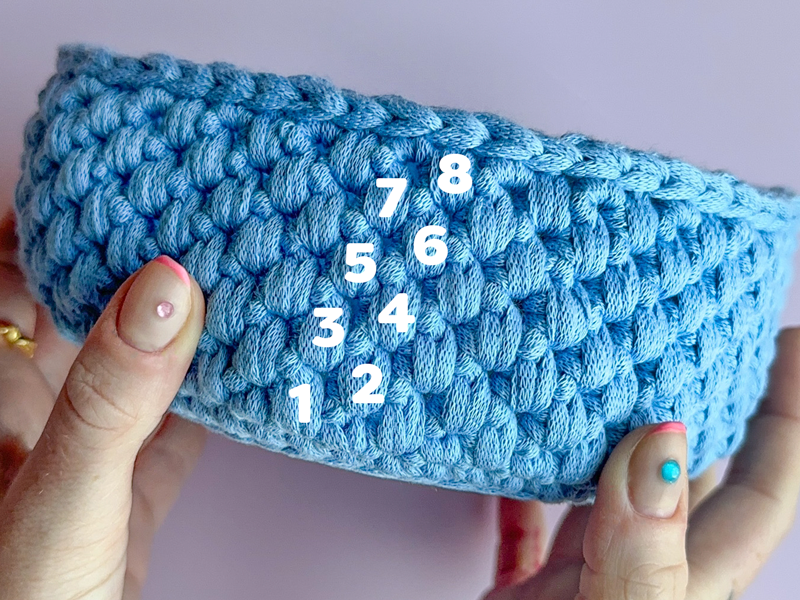
Round 23
- Crochet 1 slip stitch in each stitch.
Break the yarn and weave in the ends.
How to do a slip stitch:
You can read more about slip stitches here.
TIP: It’s much easier to weave in ends with Ribbon if you use a crochet hook in a smaller size.
That’s it! You just finished your very first bread basket - congratulations! I hope you got a taste for crocheting and want to go on more crochet adventures in the future.
In the next blog post, I will give you some tips and tricks on how to add some cool finishing touches and how to make other baskets even more special.
