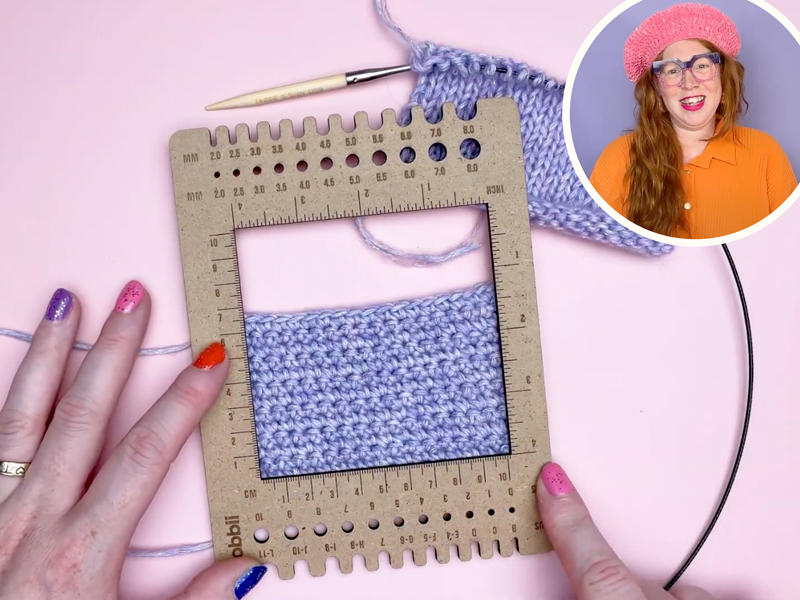
Your crochet or knitting gauge is crucial for achieving the perfect fit when making a sweater. In this blog post, Katie Jones will guide you to the right gauge, ensuring your #AprèsSkiMAL sweater fits you perfectly.

There's nothing worse than spending hours and hours crocheting or knitting a sweater, only for it to end up way too small or too big. 🫣
So, once you receive your kit for the upcoming #AprèsSkiMAL, it’s a great idea to start preparing right away. How? By making a crochet or knitting swatch to ensure your gauge matches the pattern. 💙 Once you've got it right, you'll be all set to begin the first part of the project, arriving in your inbox on September 5th. 💌
Psst! Haven’t signed up yet? US – Click Here // EU – Click Here // UK – Click Here.
What to expect from this blog post:
- Why Spend Time Making a Crochet or Knitting Swatch?
- Katie’s Guide on How to Achieve the Perfect Gauge
- How to Make a Crochet Swatch—A Step-by-Step Guide
- How to Make a Knitting Swatch—A Step-by-Step Guide
(click a link to jump straight to the section)
Why Spend Time Making a Crochet or Knitting Swatch?
Creating a gauge swatch before diving into a new pattern is essential to ensure your finished piece fits perfectly. Plus, getting the right gauge helps make sure you have enough yarn for the project. 👀
So, what exactly is gauge? Your gauge can tell you something about how loose or tight you crochet or knit. By making a swatch (a small test piece) and measuring it, you can compare your tension to the pattern’s gauge. If needed, you can adjust the size of your crochet hook or knitting needle to match the pattern's gauge.
Remember! It’s always easier to change your tools (hooks or needles) than to change the way you crochet or knit. Don’t worry if your tension doesn’t match straight away. Everyone crochets and knits differently, and there's nothing wrong with crocheting or knitting tighter or looser than the pattern suggests. Just switch to a different hook or needle size, then you’ll be good to go!
Katie will guide you through this—just watch the video below 🫶
Katie’s Guide on How to Achieve the Perfect Gauge
In the video below, Katie shares her best tips on how to achieve the pattern's gauge.
Video tip! Click on “Settings” (the little gear under the video ⚙) to change the settings of the subtitles. You can also adjust the speed if you need to rewatch the technique at a slower pace.
How to Make a Crochet Swatch
Not sure how to make your crochet swatch? Here is a quick guide!
What you need
- 4.5 mm crochet hook
- Measuring tape or a gauge tool
- The lovely Lilac yarn from the kit
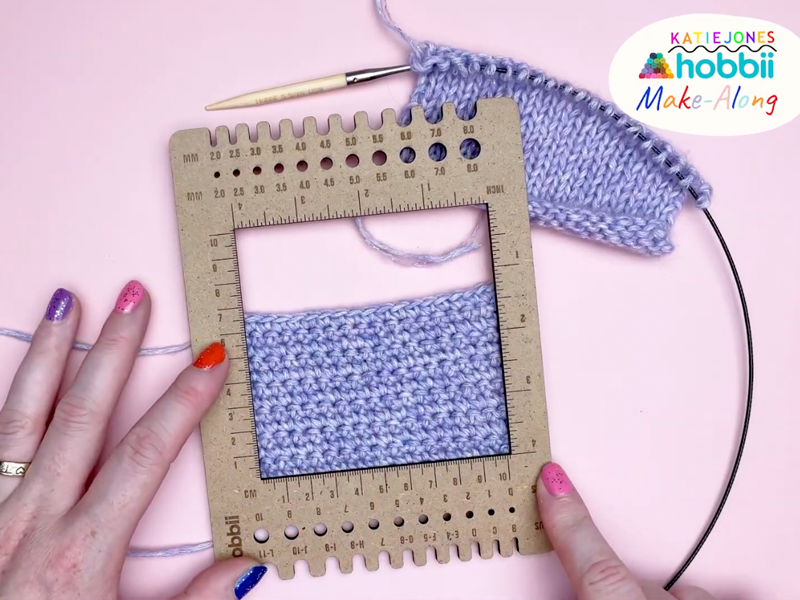
Gauge to match: 16 stitches across (10 cm) x 10 rows of single crochet (sc) up (5 cm).
Katie recommends working 20 stitches across and 15 rows up to give yourself a good-sized swatch to measure.
Step-by-Step Guide
- Start Your Swatch: Using the 4.5 mm crochet hook and Lilac yarn, chain 20 stitches.
- Work Single Crochet Rows: Crochet single crochet (sc) rows back and forth. For a step-by-step guide on how to do a single crochet, click here.
- Continue: Carry on until you have completed 15 rows.
- Measure Your Swatch: Use a tape measure or tension square measurer to count the number of stitches across and rows up. Aim to match the pattern gauge of 16 stitches across (10 cm) x 10 rows up (5 cm).
My Swatch Doesn’t Match the Pattern’s Gauge
If you didn’t achieve the right gauge with your swatch, it’s time to adjust your hook size! Here is how to do it:
- If your swatch is too large, switch to a smaller crochet hook.
- If your swatch is too small, switch to a larger crochet hook.
Make a new swatch with the new hook. Play around with hook sizes until your swatch matches the pattern’s gauge as closely as possible.
Unravel the Swatch
Once you achieve the correct gauge, note the hook size you used. Then unravel the swatch to reuse the yarn for the actual project. Yay, now you’re ready for the exciting project! 😍
❗Tip: Remember to wash your gauge swatch! It’s a smart idea to create a new crochet or knitting swatch using all the colors together, then wash and block it. This way, you can observe how the yarns behave during and after washing, which is crucial for preventing color bleeding and ensuring the correct tension for a perfect-fitting sweater. Check out this blog post to see how it’s done!

How to Make a Knitting Swatch
Here’s a helping hand on how to get started on that knitting swatch.
What you need
- 5.5 mm circular knitting needle
- Measuring tape or a gauge tool
- The lovely Lilac yarn from the kit
- The sparkly Lilac yarn from the kit
Note: Hold the lovely Lilac yarn together with the sparkly Lilac yarn.
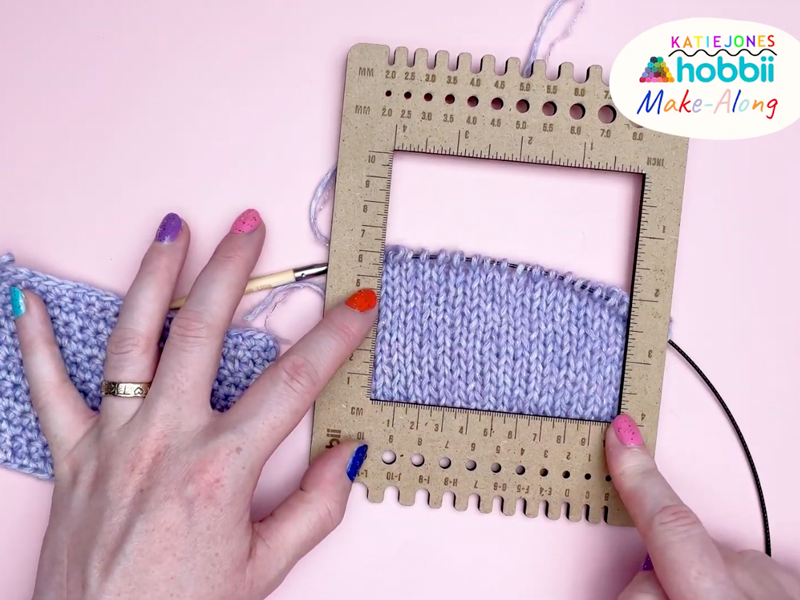
Gauge to match: 16 stitches across (10 cm) x 11 rows up (5 cm).
Katie recommends working 20 stitches across and 15 rows up to give yourself a good-sized swatch to measure.
Step-by-Step Guide
- Start Your Swatch: Cast on 20 stitches using the 5.5 mm circular knitting needle and both strands of yarn held together.
- Work Stockinette Stitch: Knit on the front and purl on the back to create stockinette stitch. For a step-by-step guide on how to do the stockinette stitch, click here.
- Continue: Keep knitting in stockinette stitch until you have completed 15 rows.
- Measure Your Swatch: Use a measuring tape or gauge tool to count the number of stitches across and rows up. Aim to match the pattern gauge of 16 stitches across (10 cm) x 11 rows up (5 cm).
My Swatch Doesn’t Match the Pattern’s Gauge
If you didn’t achieve the right gauge with your swatch, it’s time to adjust your needle size!
- If your swatch is too large, switch to a smaller knitting needle.
- If your swatch is too small, switch to a larger knitting needle.
Make a new swatch with the new needle. Play around with needle sizes until your swatch matches the pattern’s gauge as closely as possible.
Unravel the Swatch
After you’ve achieved the correct gauge, make a note of the needle size you used. Then, carefully unravel the swatch so you can reuse the yarn for your actual project. Now you’re all set and ready for the exciting part! 😍 Happy knitting!

Want to join the #AprèsSkiMAL Mystery Make-Along?
Get your kit HERE.
Sign up here: US – Click Here // EU – Click Here // UK – Click Here.
