The stockinette stitch is a basic and commonly used knitting technique, creating a smooth and even pattern texture. Learn how to knit the stitch with this short and very easy tutorial.
The stockinette stitch or the stocking stitch (abbreviated St st) is characterized by a row of knit stitches followed by a row of purl stitches.
Note: If you're knitting the stockinette stitch in the round with circular needles, you will only have to do the knit stitch. Easy peasy!
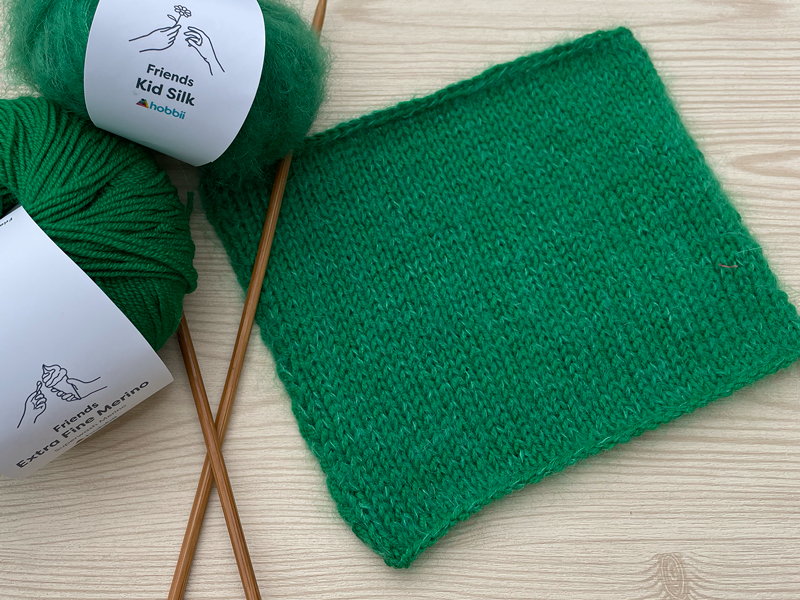
The continued pattern of the stockinette stitch gives the fabric a smooth and even texture that's perfect for sweaters, beanies, scarves and other garments.
Once you're familiar with the knit stitch and the purl stitch, the stockinette stitch will be a breeze to master. Your new knitting mantra will be: knit one row, purl the next.
Are you ready to get stitching? Here’s a step-by-step guide on how the stockinette stitch is done:
How to Knit the Stockinette Stitch
- Casting On: Cast on the desired number of stitches. If you’re here to try out or practice the stockinette stitch, let's go with 20 stitches for this tutorial.
- Row 1 (Right Side): Knit all the stitches. That's right, every single one!
- Row 2 (Wrong Side): Now purl all the stitches.
- Repeat: Continue these two rows, alternating between knitting and purling.
- Casting Off: Once you've reached your desired length, cast off.
Pro Tip: The stockinette has a sneaky habit of curling at the edges. To prevent this, consider adding a border of garter or rib stitch.
And voilà! You've just created a piece with the smooth stockinette stitch! It’s time to use this technique to make beautiful projects. What will you knit? A sweater? Or perhaps a scarf?
Have fun and happy knitting!
The Knit Stitch: Here’s how to
Video tip! Click on “Settings” (the small gear under the video ⚙) to change the language of the subtexts. You can also adjust the speed of the video if you need to rewatch the technique at a slower pace.
