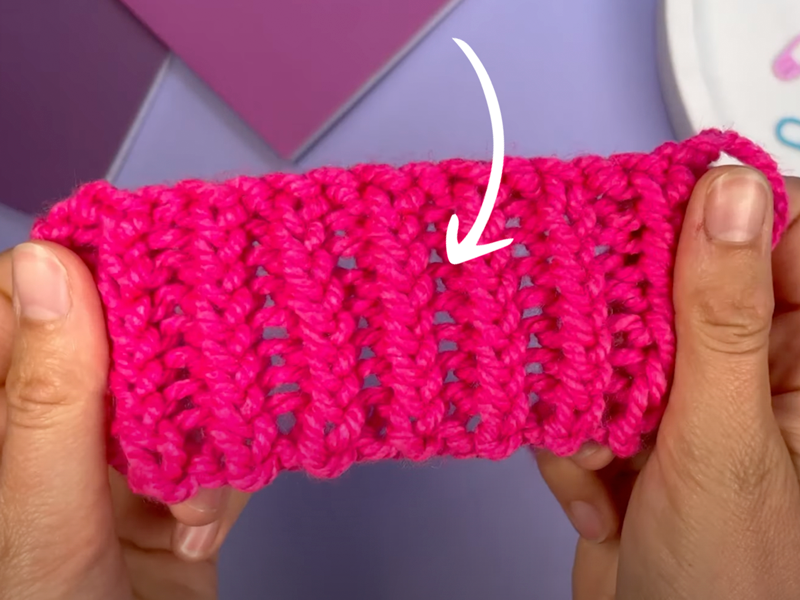
Are you ready to twist up your knitting game? Add the Single Twisted Rib to your knitting technique repertoire and create beautiful cuffs and edges with extra stability, elasticity and flair. Let us show you how to!
Are you tired of the same old rib stitches? Want to add a little zing to your projects? In this blog post, we're diving into the Twisted Rib, a delightful variation of the classic 1 x 1 rib.
The Twisted Rib offers a tighter, elastic, and more defined texture, and it’s especially fabulous for edges that need a bit of extra flair and stability. Believe us, this pattern is a real game-changer!
Here’s how to knit the beautiful rib in your own creations:
How to Knit the Twisted Rib on the Right Side
- Knit the first stitch through the back loop (ktbl) (this is where the twist happens!).
- Purl the next stitch in the regular way.
- Repeat these two stitches (knit through the back loop and purl).
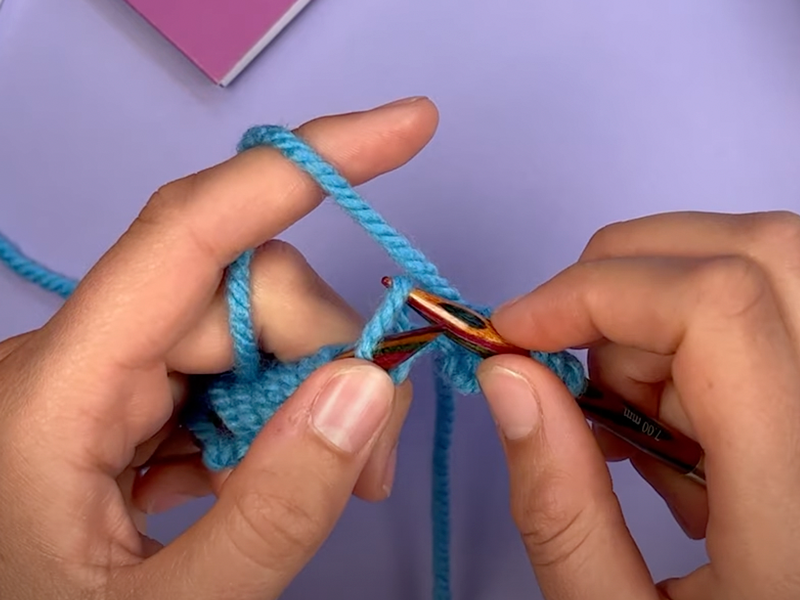
👆 Knit the first stitch though the back loop like this.
How to Knit the Twisted Rib on the Wrong Side
- Purl the first stitch through the back loop (ptbl).
- Knit the next stitch as you normally would.
- Continue alternating these two stitches.
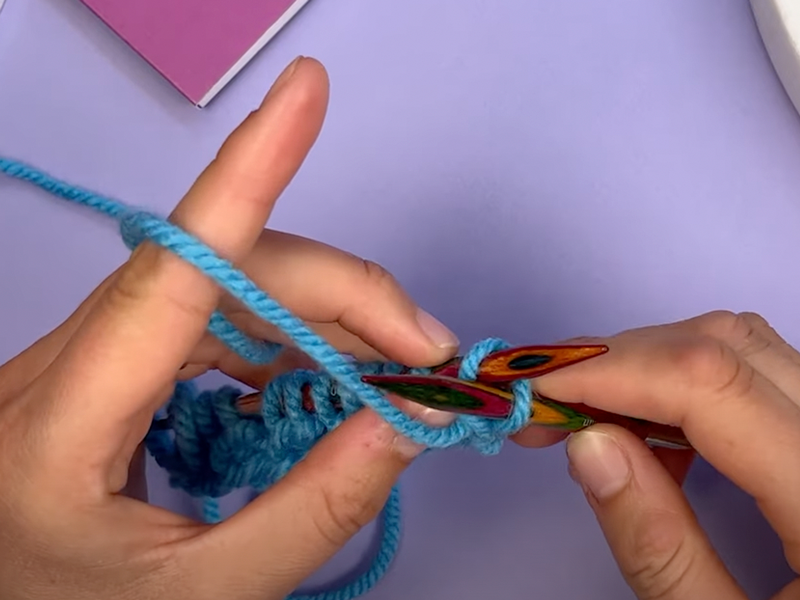
👆 Purl the first stitch though the back loop like this.
The Twisted Rib may take a bit of practice if you’re new to knitting through the back loop, but once you get the hang of it, you will fall in love with the stylish pattern, we promise <3
So, grab your favorite Hobbii yarn, find a pattern with edges suited for a Twisted Rib, and give the project the delightful twist it deserves. Happy knitting!